When you hear "Shopify," you probably think of online stores and e-commerce. But Shopify has evolved far beyond that — it's now a powerful platform for restaurants and food service businesses too. With Shopify POS, table ordering integrations like Excuseme, and robust analytics, restaurants can manage everything from a single dashboard.
In this article, we'll explore how Shopify can be used for restaurant operations, covering five key benefits, how to leverage collections as menu categories, and the step-by-step process to get started with Shopify + Excuseme.

Shopify Works for Restaurants Too — Not Just E-Commerce
Shopify started as an e-commerce platform, but its ecosystem has grown dramatically. Today, over 2 million businesses worldwide use Shopify, and an increasing number of those are brick-and-mortar restaurants. The key drivers behind this shift include:
- Shopify POS: A powerful point-of-sale system that works seamlessly with the online platform
- App ecosystem: Thousands of apps that extend functionality for any industry
- Unified analytics: Sales data from online and in-store combined in one dashboard
- Flexible product management: Products, variants, and collections that map perfectly to restaurant menus
Many restaurant owners have been using separate systems for their website, online ordering, POS, and analytics — leading to fragmented data, double entries, and higher costs. Shopify solves this by bringing everything into one platform.
Key insight: Shopify's product management system (products, variants, collections, tags) maps naturally to restaurant operations — dishes are products, sizes/toppings are variants, and menu categories are collections.
5 Benefits of Running a Restaurant with Shopify
1. Website + Online Ordering in One Place
With Shopify, your restaurant's website IS your ordering platform. No need for a separate website builder and a separate online ordering system. Shopify's theme system lets you create a beautiful, mobile-friendly restaurant website that doubles as an online ordering platform. Customers can browse your menu, see high-quality photos, and place orders for delivery or pickup — all from the same site.
Benefits include: SEO-optimized pages that help customers find your restaurant, built-in blog for content marketing, custom domain support, and automatic mobile optimization.
2. E-Commerce for Food Products
Many restaurants have products they can sell online — bottled sauces, packaged meals, merchandise, gift cards, and more. With Shopify, you can sell these alongside your restaurant menu without any additional setup. Shopify's robust shipping, inventory, and payment processing features handle everything automatically.
This opens up new revenue streams. Imagine a ramen shop selling its signature broth online nationwide, or a bakery offering subscription boxes — all managed from the same Shopify admin where you manage your in-store menu.
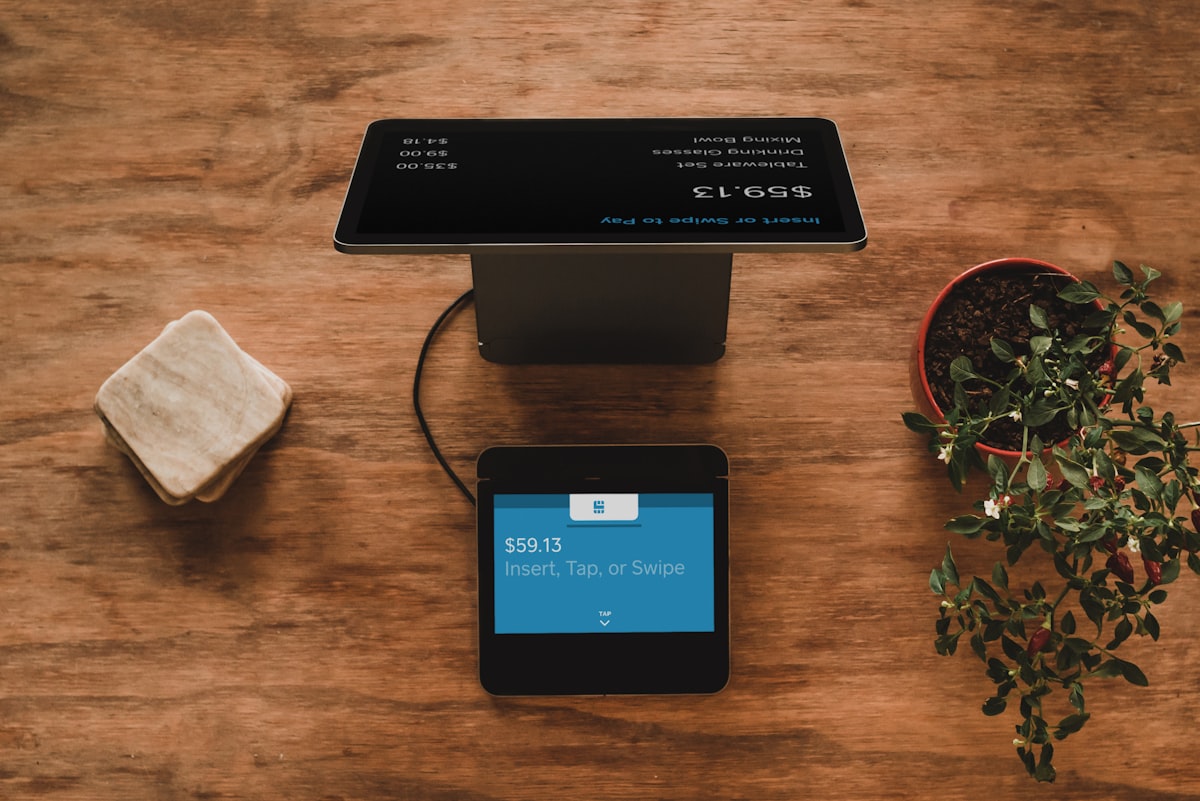
3. Shopify POS for In-Store Payments
Shopify POS is a full-featured point-of-sale system that runs on iPad and iPhone. For restaurants, it provides: quick menu access with customizable smart grid, split bills and tip management, multiple payment methods (credit card, IC card, QR code payments), staff accounts with role-based permissions, and real-time inventory syncing with your online store.
Unlike traditional restaurant POS systems that charge hefty monthly fees and lock you into long contracts, Shopify POS is included with your Shopify plan and offers transparent, pay-as-you-go pricing.
4. Table Ordering with Excuseme Integration
This is where Excuseme comes in. By installing Excuseme on your Shopify store, you add powerful table ordering capabilities. Customers scan a QR code at their table, browse your menu on their smartphone, and place orders — which are automatically synced with Shopify POS and your kitchen display.
The integration works seamlessly: Excuseme reads your Shopify products (tagged with "excuseme-table-order") and displays them in a beautiful, mobile-optimized ordering interface. When a customer places an order, it's created as a Shopify Draft Order, which your staff can then process through Shopify POS for payment.
5. Unified Analytics and Reporting
Perhaps the biggest advantage of using Shopify for your restaurant is unified analytics. Instead of pulling data from five different systems, you get everything in one place: online sales, in-store POS transactions, table orders, product performance, peak hours, customer behavior, and more.
Shopify's analytics dashboard shows you which menu items are most popular, what time of day generates the most revenue, average order value trends, and customer demographics. This data-driven approach helps you make smarter decisions about menu pricing, staffing, and marketing.
| Capability | Traditional Setup | Shopify + Excuseme |
|---|---|---|
| Website | Separate CMS | Built-in |
| Online Ordering | Third-party service | Built-in |
| POS | Dedicated POS system | Shopify POS |
| Table Order | Separate tablet system | Excuseme |
| Analytics | Multiple dashboards | Unified dashboard |
| Monthly Cost | ¥30,000~¥80,000+ | From ¥5,000 |
Using Collections as Menu Categories
One of the most elegant aspects of using Shopify for a restaurant is how naturally Collections map to menu categories. In Shopify, a Collection is a group of products — and for restaurants, that translates perfectly to menu sections.
Here's how to set up your Collections for a restaurant menu:
- Manual Collections — Create collections like "Appetizers," "Main Course," "Desserts," "Drinks" and manually assign dishes to each
- Automated Collections — Set rules like "product tag contains appetizer" to automatically organize new menu items
- Nested Categories — Use tags to create sub-categories like "Hot Drinks" and "Cold Drinks" within a "Drinks" collection
- Time-based Menus — Create separate collections for "Lunch Menu," "Dinner Menu," and "Happy Hour" and toggle visibility
Excuseme reads these collections and displays them as category tabs in the table ordering interface. Customers can easily browse by category, just like a physical menu. The sort order of products within collections determines the display order in Excuseme, giving you full control over your menu presentation.
Pro tip: Use Shopify's product variants for dish options like size (Regular/Large), spice level (Mild/Medium/Hot), or toppings. Excuseme displays these as selectable options in the ordering interface, just like a waiter asking "What size would you like?"
How Shopify POS + Excuseme Work Together
Understanding the integration between Shopify POS and Excuseme is key to seeing why this combination is so powerful. Here's the complete workflow from customer entry to payment:
Step 1: Customer Scans QR Code
Each table has a unique QR code generated by Excuseme. When customers scan it with their smartphone camera, they're taken directly to the table ordering page — no app download required. The system automatically identifies which table they're at.
Step 2: Browse Menu and Order
Customers see a beautifully designed menu with photos, descriptions, and prices — all pulled from your Shopify products. They can select items, choose variants (sizes, options), and add items to their cart. The interface supports Japanese and English, automatically detecting the customer's browser language.
Step 3: Order Sent to Kitchen
When the customer confirms their order, Excuseme creates the order internally and pushes it to the kitchen display in real-time via WebSocket. Kitchen staff see the new order immediately, with the table number, items, and any special instructions.
Step 4: Shopify Draft Order Created
Simultaneously, Excuseme creates a Shopify Draft Order via the Shopify API. This Draft Order contains all the items, quantities, and the table information. It appears in your Shopify admin and Shopify POS, ready for payment processing.
Step 5: Payment via Shopify POS
When the customer is ready to pay, your staff opens the Draft Order on Shopify POS, applies any discounts or adjustments, and processes the payment. Shopify handles all payment processing, including credit cards, electronic money, and QR code payments.
Getting Started: Step-by-Step Guide
Step 1: Set Up Your Shopify Store
Start by creating a Shopify account. Choose the plan that fits your restaurant's needs — for most small to medium restaurants, the Basic plan provides everything you need. Set up your store with your restaurant's name, address, and basic information. Shopify offers a free trial, so you can explore the platform before committing.
Step 2: Add Your Menu Items as Products
Add each dish as a Shopify product. Include high-quality photos (we'll cover photo tips later), detailed descriptions, prices, and any variants like sizes or options. Tag each item that should appear in the table ordering system with "excuseme-table-order." Organize them into Collections for your menu categories.
Step 3: Install Excuseme
Install Excuseme from the Shopify App Store. The app will guide you through the initial setup: connecting to your store, configuring your floor plan, and generating QR codes for each table. The entire setup process takes about 15 minutes.
Step 4: Configure Table and Menu Settings
In the Excuseme dashboard, set up your tables (table numbers, seating capacity), customize the ordering interface (theme color, layout style, column count), and configure notification settings. You can also set up staff accounts and kitchen display preferences.
Step 5: Print QR Codes and Go Live
Print the generated QR codes and place them on each table. We recommend laminating them for durability. Test the entire flow from scanning to ordering to payment, then you're ready to go live. Train your staff on the new workflow — most staff get comfortable within a single shift.
Tips for Success
High-Quality Food Photography
In table ordering, the menu photo is your primary salesperson. Customers decide what to order based largely on images. Invest time in taking great food photos: use natural lighting whenever possible, shoot from a 45-degree angle, use simple backgrounds that don't distract from the dish, and show the dish at its freshest. You don't need professional equipment — a modern smartphone with good lighting can produce excellent results.
Compelling Menu Descriptions
Write descriptions that sell. Instead of "Grilled chicken," write "Juicy free-range chicken thigh, grilled to perfection with our house-made herb butter, served with seasonal vegetables." Highlight key ingredients, cooking methods, and what makes the dish special. For Excuseme's bilingual support, provide descriptions in both Japanese and English to welcome international customers.
Smart Use of Variants
Shopify variants are your secret weapon for restaurant menu flexibility. Use them for: portion sizes (Small/Regular/Large), spice levels, cooking preferences (rare/medium/well-done), set meal options (with rice, with bread, with salad), and add-on toppings. Each variant can have its own price, making upselling natural and effortless.
Regular Menu Updates
Keep your menu fresh by regularly updating it in Shopify. Seasonal menus, limited-time offers, and daily specials keep customers coming back. With Shopify, you can schedule product visibility, so you can prepare next month's seasonal menu in advance and have it go live automatically.
Ready to transform your restaurant with Shopify + Excuseme? The combination gives you a website, online ordering, POS, table ordering, and analytics — all in one platform, at a fraction of the cost of traditional restaurant systems.